You've asked for it! You've waited for it! And now it's HERE!
Skinny pants.... with the comfort of an elastic waist....and a professional facade.
It's like a super hero among sewing patterns!
Hey ya'll, Becca here! Visiting from my new blog
Free Notion to guest post this skinny pants tutorial. If you don't make an immediate dash-for-your-stash to sew these puppies up, I'd love if you pop on over and leave me a house-warming comment :) And with that shameless plug behind us, let me take a quick minute to prepare you....
Disclaimer 1: Like most of my tutorials, you *will* have to draft a piece. Don't worry, I'll hold your hand through it. We'll do this together!
Disclaimer 2: This is NOT a first-time-sewing-the-skinnies-pattern project. Please, please, please do your muslin first! SarahLynn did
a great write-up on the different fit adjustments she made on hers, and Jeanine did the same
here (scroll just more than halfway to the Bonus Muslin Tips section where she talks about her skinny pant adjustments!). Colette
has an excellent cheat sheet, very specific trouble shooting!
**If you don't already own the pattern you can buy it on my website
HERE or on etsy
HERE.
Disclaimer 3: Your booty is not the same shape as my booty, and if you're human (and I'm guessing you are) you have curvier hips than me. (Lucky ducks...) As such, your pattern piece WILL look different than mine. And that is OK! If there was a one-size-fits-all approach to clothes, we'd have no need to sew our own custom fit, amiright?
Ok, let's get started!
You'll need:
- Your Skinny Pattern pieces, already modified for your custom fit. (I'm gonna hammer that one home, you're forewarned!)
- Wax/Tracing/Block Paper, or Muslin (if you're like me and will use this piece over and over again)
- Fabric Marker, Permanent Marker, Depends how adventurous you're feeling.
- Fabric, about 1/2 yard more than the pattern suggests for your size. I HIGHLY recommend using a stretch woven fabric! The results are just way more comfortable than my non-stretch pair.
- Elastic (I recommend 1.5 or 2 inch elastic) and Bodkin/safetypin
- Interfacing (light weight apparel interfacing is totally fine!)
For starters, my goal here was to make the most "grown up" pair of skinnies I could. I started with
this tutorial to add in-set pockets, and watched
this video to add welt pockets. (Notice I marked the back pattern piece there and everything!)
Then I borrowed my zipper fly pattern piece from my much-loved Greenstyle Taylor shorts. I can't very well fake having "grown up" pants without faking a zipper fly, right? Using this pattern pieces isn't 100% necessary, you can always eyeball it, or make up a little pattern piece following your favorite pair of jeans.
I used my fabric marker to trace the pattern piece, and stitched two parallel rows of accent stitching.
Now I'm going to stray for a minute from the pattern order-of-assembly. I'm going to ask you to sew the crotch seams of the FRONT pant pieces only. (If this makes you uncomfortable, baste these pieces instead so you can easily pull out those threads and assemble per the pattern instructions later.)
Iron the top of your skinnies FLAT. (If you added in-set pockets like I did, baste those down so we get a nice crisp line and accurate measurements.)
Uh oh, did I get your heart racing just then? Take a deep breath, WE CAN DO THIS!
Grab your muslin/paper/deed to your home, whatever you've got handy. We're drafting ourselves a pattern piece. You'll need your elastic, markers, and a ruler too!
- Mark your "V". (If you've had too much coffee today, I'm going to go ahead and suggest NOT using permanent marker for this step.)
- With your ruler, "connect the dots" by drawing a straight line across each side of your pants.
- Line up your elastic along this new line.
- Mark 1/4 inch above your elastic.
- Remove your pants. (Not the ones you're wearing! Put those back on! I meant the front of your new skinnies!)
- With your ruler again, mark your seam allowance below your "V" marking. (The pattern uses a 3/8" seam allowance, so I'd recommend sticking with that.)
- Now write "FOLD" at the top of your pattern piece, just in case you need the reminder next time you make these pants!
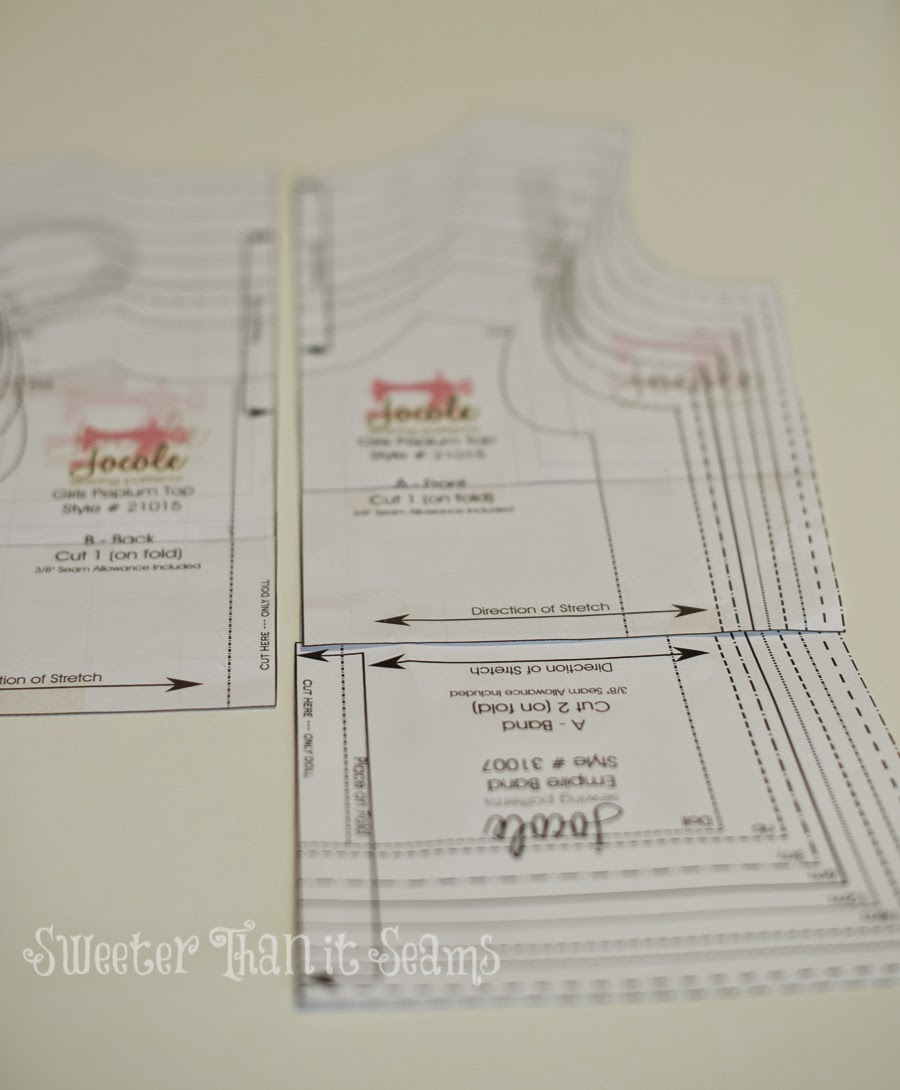
Before we get to cutting anything, let's confirm the measurement across the front piece. After all the adjustments we did in our muslin (You did do a muslin, didn't you? DIDN'T YOU?) I'm going to use this chart of "front" measurements as more of a guideline than a rule. Close enough? Excellent!
Cut out ONE main fabric, on the fold, and ONE interfacing. Iron on that interfacing, and set that piece aside.
Now cut one piece for the back. (Also in the chart) But before you do, check the height of the side of your hand-crafted pattern piece. (Doesn't that sound nice? "your hand crafted pattern piece" - well done, you!) Your back pattern piece should be double this height. Mine was a smidge off, but "perfect is the enemy of the good", or so they say, so I carried on anyway.
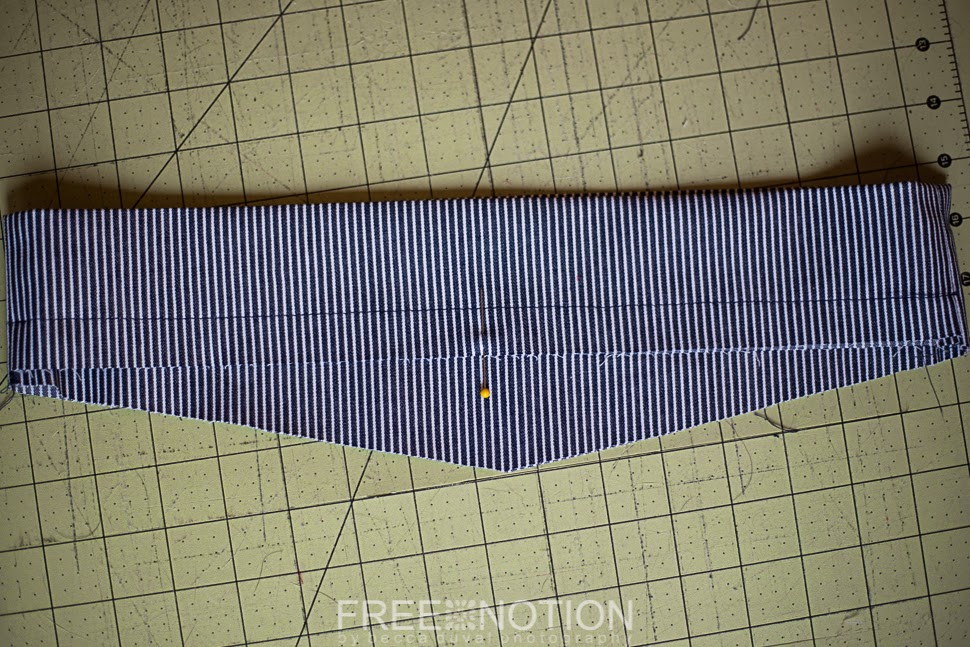
Continuing our waistband-detour, sew those puppies right-sides-together at each side seam.
When you fold and press, your waistband should look like....
Grab your elastic again, and (with a little wiggle room at the top) mark a line below it. This will be your casing line. Go on now, stitch it! (Stitch it good!)
Before we grab our elastic, let's take a second to mark the back center. This will just help to keep things even when we stitch our waistband to our pants. My skin is a magnet for pins, so I ended up swapping this one out for a wonder clip. A small notch or mark of fabric pen would do the job too. Whichever is your preference!
Now scroll up and grab your elastic measurement. (Ok, ok, or click
here. While you're at it, just go ahead and print that chart off. Tape it to your pant pattern. You're going to want to have it handy for future sews!)
Cut elastic to length and feed it through your casing. (If you could see through layers Superman-style, this is what the process would look like.)
Isn't that pretty??
Now we go back and finish assembling the pant legs, and then stitch them together at the crotch. (Because this was a topic of recent discussion in the Jocole group, let me state now and forever more that I ALWAYS sew AND serge my crotch seams, then TOP STITCH them. You can use your preferred stitching methods elsewhere, but this is not a place on pants I'd want to play the "what if I bend over and riiiiiiiiiiiiiiiiiiiiiiiiip this hiney seam??" game. It'll take you an extra 5 minutes. Invest that time in these skinnies. Preachy McPreacherson, over and out.)
Match up waistband front and back with pant front and back...
Start sewing from center front. IF your front waistband has a prominent "V" shape, when you get back around to that center point, You MIGHT need to clip into the seam allowance to get it to lay flat. (Personally, my dinky "V" laughed at the suggestion, but I was hopeful enough to snap a picture anyway...)
We are SO SO CLOSE! Go topstitch that seam and meet me back here to talk beltloops.
My photos get pretty sparse here. Mostly because my rebellious machine refused to get sew through
more than a couple of layers. Word on the street is beating it into submission with a rubber mallet is the way to go.. (The fabric, not the machine. No sewing machines were harmed in the making of this tutorial!) I was too emotionally spent to put this to the test, but if you experience similar problems, give it a try! Also make sure you're using a needle for heavy weight fabric.
Take a 1.5 inch strip of your denim and fold it like bias tape. (Fold outside edges into the middle, then fold in half) Stitch along the open edge with a 1/8" seam allowance.
The height of your belt loops should be about 25% larger than your finished waistband. (ex: I used 1.5 inch elastic, and had an extra 1/2 inch to the waistband seam. So my belt loops were 2.5" long)
Give your back waistband a few tugs. We want the gathering equally distributed! Now smooth the gathers away from the back center waistband, and pin about 1 inch width flat. We're going to sew our first beltloop on here, and don't want to sew over any gathers!
(TOP) Overlap your beltloop about 1/4 inch onto the top of your waistband. Stitch 1/8 away from the top of the waistband, and backtack the entire way, JUST off the beltloop. With your needle down, lift your presserfoot. (BOTTOM) Fold your beltloop down so it lays across your waistband. Pull it taut, BUT GENTLY! We don't want to bend our needle! Put your presserfoot down, and stitch/backtack again. Fold your bottom belt loop under 1/4" and stitch/backtack.
Repeat this on each side seam. If you're not weeping over an uncooperative machine/needle/denim arrangement, you may even consider stitching a couple belt loops on the front of your waistband.
And there you have it!! Flat Front Skinnies with an elastic back!
If you're dying to know the fabric I used, or the patterns I've paired them with here, go visit my friends at Pattern Revolution! It's all listed in my
Fashion Friday feature. I know, I'm a stinker ;) I just wanna to spread the love!
Hope you're loving your new skinnies! If you share them in the
Jocole group, please tag me. I don't want to miss your beautiful creations!