Monday, March 17, 2014

Cuff Tutorial

Adding a Cuff to The Quick Dress

A Tutorial


Take two measurements:  
1.  Measure the length of the sleeve 2 inches shorter than the pattern calls.  
2.  Measure the bottom edge of the sleeve.

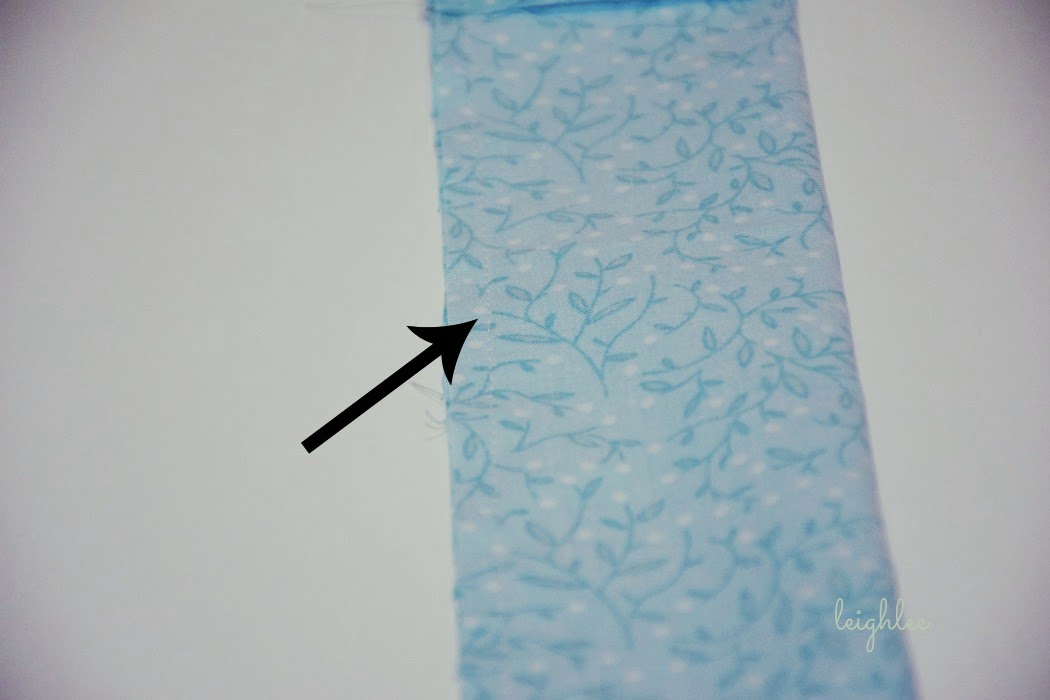
Cut two strips that are 5" tall by width of sleeve.  So you will have two strips that are 5inches tall and as wide as the bottom edge of the sleeve.


Fold cuff in half lengthwise with right sides together.


Stitch short sides together with a 3/8" seam allowance.  You now have one open edge, one folded edge and two short sides sewn together.
Turn right sides out and be sure to push out edges.  Press well, setting seams exactly on the edges.


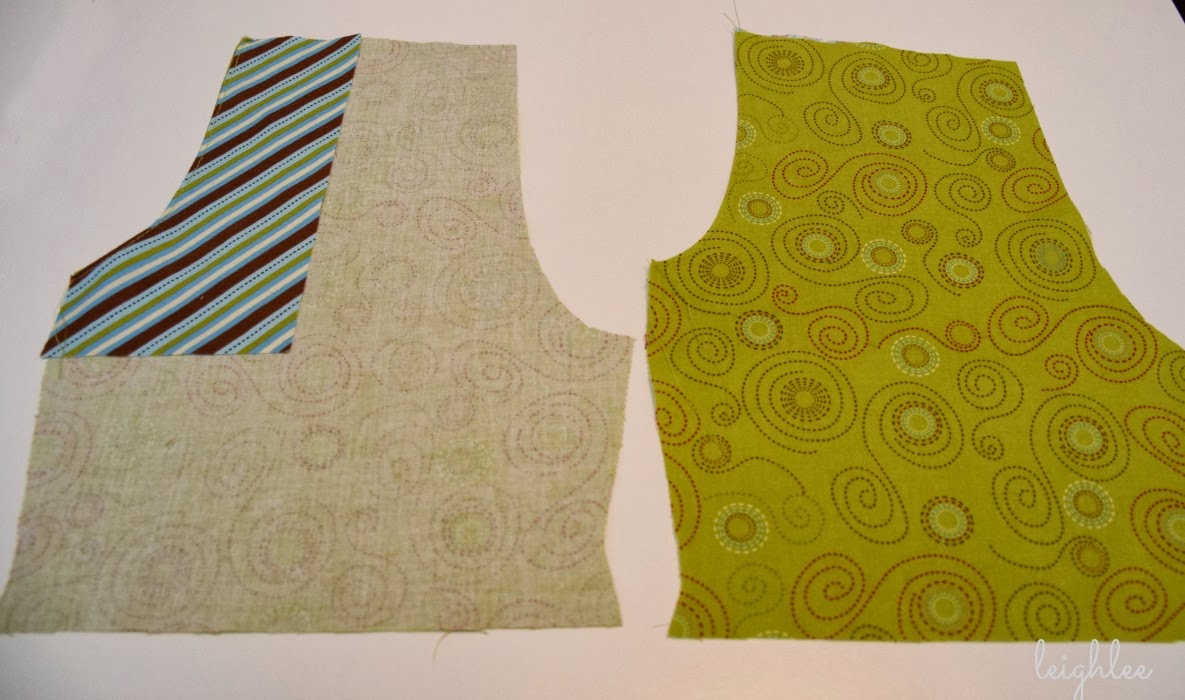
Attach sleeve to the Quick Dress and sew underarm/side seams together.  The bottom edge of the sleeve is still raw.


Attach cuff to the edge of the sleeve, right sides together, using a 3/8" seam allowance.   The opening of the cuff should be at the outside of the sleeve.


Finish the raw edge of the cuff and sleeve.


Turn right side out and topstitch.

Happy sewing!


Thursday, March 13, 2014

Sash Tutorial

Sash Tutorial

Belt Sash


Make a sash to fit the Essential Pants from Jocole.


Choose the appropriate size sash.  Cut fabric to required measurements.  To make a bow sash, cut 2 fabric pieces or double the length.

Fold sash in half.


Stitch together one short side and length of the sash.


Using a dowel, push fabric through to turn.


Iron sash.  Turn short end in to create a finished edge.


Topstitch to close opening and finish.


Add the sash to your project!


Jocole Essential Pants Sew Along Day 4

Essential Pants Sew Along

Day 4


You almost have a new pair of pants for your "little".  Yay!  Let's get this party started.

Begin by making the casing for the elastic.  Topstitch the waistband just below the top edge.  

Add a second row of stitching to make a casing for the elastic.  Measure down from the top edge and sew again.    

Be sure to leave a small opening to insert elastic.


 I am attaching belt loops to my shorts, this step is optional.  Belt loop instructions are found here.  


Attach the belt loops to the pants .  Attach at the top and bottom of each belt loop.  Be careful if you have pinned the belt loops on, don't catch the pin in your machine.


Using a Bodkin or safety pin, insert elastic into casing.  Thread elastic all the way through the casing until it comes out the opposite end.  


Secure both ends of the elastic together.  I like to sew a square with a "X" in the center.


Close up the hole that was left for the elastic.  And now, you are FINISHED!  Congratulations!  I hope your "little" enjoys the pants (capris or shorts) as much as mine does.

If you would like to make a sash for the Essential Pants, find instructions here.


Jocole Essential Pants Sew Along Day 3

Essential Pants Sew Along

Day 3

Yesterday we worked on pockets and side seams. Today we are working on the hems, waistband and crotch.  Here we go.....

Serge or zig zag stitch at the waist and leg hem.  Iron the waistband and hemline, but do not sew.   If you don't have a hem guide, you should make one.  I made mine by marking lines at typical hemming lengths, from some old thick paper I had.


We are going to take a slight deviation from the pattern instructions.  You can follow the directions in the pattern if you prefer that method, this is just a different way to sew pants.  Line up the two leg panels at the crotch line, right sides together.  The two front panels and the two back panels line up to each other.


Sew both crotch seams together, the picture above and below show the front and back crotch.  Serge or finish.  Now we have two panels, right sides together, sewn at the crotch and back seam.  

Now is a great time to topstitch the back seam.  

 Now that you have the pants looking more like actual pants, we are going to sew up the legs.  Line up the front of the pants and the back of the pants, right sides together.  Pin the legs together so your pants look complete.  Sew and finish the seam.  Your pants should look like the picture below, both pockets on the rear of the pants.


Topstitch the bottom hem of the pants legs.  I hope I didn't royally confuse you.  If you have questions, let me know.


Wednesday, March 12, 2014

Jocole Essential Pants Sew Along Day 2

Jocole Essential Pants Sew Along

Day 2


We're starting out the day with these things on hand:

  • Pants front and back
  • Pockets (front and back)

Here we go!  We'll start with the Optional Pocket Instructions.  Finish the edges of the pockets by serging or zig zag stitching.  Iron the top edge under at 5/8in and the side and bottom edges 3/8in.

Topstitch the top fold of the pocket.  I chose to use a twin needle, but one line of stitching is just fine.  I knew that I wanted to do most of the topstitching with a twin needle(and let's face it, I get really excited when I get to use a twin needle.  I know, once again you think I'm weird!).

Here is where the marks from the pattern come in handy.  Line up the corners of the pocket right at the marks on the pants back pieces.  Pin the pockets in place.


Stitch the pockets in place.  I used a twin needle(bwahahaha) to stitch down the pockets.  Cute, huh!  It looks like the pocket is crooked but it's supposed to be that way.

Line up the front and back pieces at the side seam, opposite of the crotch side.  Pin. (I know there are some people that HATE to pin, so that's totally up to you.  Don't tell, but I rarely pin.  The only time I pin is when I have to be really careful about lining up fabric.)


Finish the side seams.  If you don't have a serger, it is always acceptable to zig zag stitch the seams.


Open up the pants and iron the seam flat.  I also topstitched the seam(with a twin needle, ha ha!), that is totally optional.  Below, both panels are showing the topstitching.  I also made the front pockets, again optional.  I played around and made the pockets functional instead of faux pockets.   After I spent time banging my head against my sewing table about the stupid pockets, Jodi made a pattern and I wrote some instructions for the Inset Pockets.  Awesome! It was soooo much easier than I was trying to make it!

That's all I have for today!  Let me know if you have any questions.  Get ready for tomorrow, we're ironing and working on the crotch.  I'm showing an alternative to the pattern for sewing the pant legs, so don't miss it!


Monday, March 10, 2014

Jocole Essential Pants Sew Along Day 1

Essential Pants Sew Along

Day 1

I'm so glad you are joining me for the Essential Pants sew along.  I just love doing sew alongs and I love to see all the different creations made from one pattern!  So fun!  Let's go ahead and get started.

  Today is preparation day, so we have what some would consider the not so fun part.  Personally, I LOVE to cut and tape.  Really, I'm not just saying that.  I must not have been allowed to use scissors and paper as a kid because I just love this part.  I think I also like to figure out where each page belongs, I love puzzles(now you think I'm a total weirdo).

First, print your pattern.  You will need pages 18-28 for the pattern pieces, it's up to you if you want to print the instructions as well.  I never print the instructions, I just save my file to dropbox and open it when I'm ready to sew.

When you are taping, it's important to notice that the leg portion is not printed for the front and back panels.  To conserve paper, the front and back pieces take turns being attached to the leg.  You can see below that I have a back attached to the leg and the front piece is waiting for the leg.  I didn't attach pages 1&2 and 3&4 to the leg panel, I kept them separate so that I could change out the leg panel.  You can certainly print two leg portions so that both the front and back pieces have a full leg.


After taping the pattern, you may want to transfer the pattern onto freezer paper.  I like to do this so that I don't cut a size, and then later have to reprint because I want a different size.  I have a tutorial on transferring a pattern to freezer paper here.  Be sure you transfer all markings onto the freezer paper, the pocket marks are particularly important.  I ironed my freezer paper onto my fabric instead of pinning, that's one handy dandy benefit to using freezer paper (yes, it works on wovens too).

There is a tutorial for making faux front pockets here, now is the time to look at the tutorial and make adjustments.  If you want real pockets, see the Inset Pocket tutorial here.


Notice that there are several options for the Essential Pants; shorts, capris and full length.  I'll be making the shorts since we are hopefully going to head into warmer weather soon.  I've seen several people ask if this pattern is appropriate for boys, I absolutely think it is a unisex pattern.  If you don't like the flare on the legs, take the cutting line straight down from the hips.  Just use a ruler and take it straight from the hip to the hem cutting line.

We are ready to CUT!  I bet you thought I would NEVER get there.  Sorry, I have typed a lot today but I won't usually have this much to say (but don't ask my family about how much I usually have to say, they might not be so nice!).  Cut the pants (shorts or capris), front and back pieces and the pockets.

Don't forget to cut out your pockets!

Yay for finishing Day 1!  I know it is SOOOOOO tempting to just keep going, but hold tight with me.  You know you need to do laundry anyway.  :)  Come back tomorrow for sewing up the side seams and pockets.


Inset Pocket How To

Inset Pocket Tutorial

This tutorial for Inset Pockets can be used on the:
Print out the pocket pattern and cut the desired size.  
You can download the printable pattern pieces HERE
Includes sizes newborn through 14, doll, and ladies
 Cut 2 from fabric.


I like to leave the curve attached to the pattern just folded back out of the way.


Cut out the curve on 2 facing pieces. 


Use the small curved cut out to make a template on the Essential Pants front.


Cut away curve template.


At this point we have 2 squares and 2 facing pieces with a curve cutout.  Be sure the curves are facing opposite directions.


Lay facing on top of pants front, matching the curves.  Stitch at 3/8in.


Clip curves.  I use pinking shears to clip curves, but you may also make small cuts all the way to the stitching line (but don't cut the stitching).


Turn the pocket facing to the underside of the pants front, iron.  You will have a seam at the curve and the facing will be under the pants front.  Topstitch at 1/4in.


Place square pocket piece over the curve with the right side facing pants front (or right side of pocket to right side of facing).  Stitch inside of pocket pieces together and finish (the two inside edges).


Baste along top and outside edges to keep the pocket in place.  You have completed Inset Pockets!