
Contrast Legging Modification
 I've seen lots of contrast leggings from companies like Lululemon and Athleta. I love those companies and love their leggings. I thought it might be fun to try my hand at making some contrast leggings for myself instead of purchasing them.
Side note: those shoes are not mine! They are my daughters cheer shoes. I had to wear them because she took MY shoes to school with her for tennis. So sorry about the ugly white shoes, I'll get her when she gets home! Stinker!
Let's get started on the tutorial for Contrast Leggings. You can make these in no time at all and go for a run. ( BTW, you will NEVER catch me running! They are cute though!)
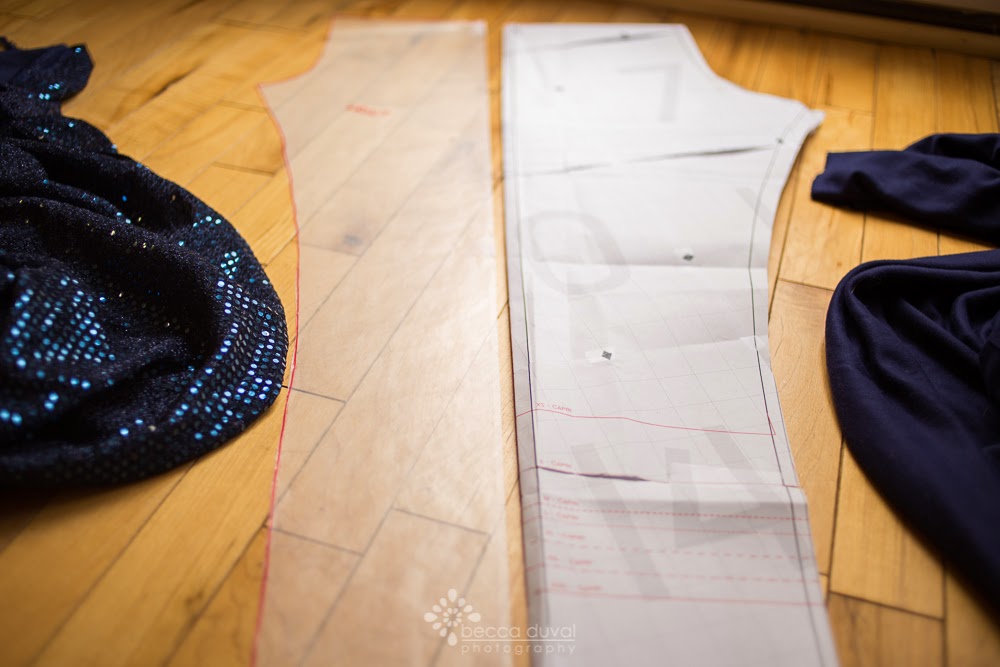
Print the Basic Leggings pattern and transfer to wax paper or parchment paper. Be sure to transfer markings from the pattern. The most important marking is the line down the middle.

Cut the pattern piece in half, down the center line.

Now we need to figure out the triangle placement. I used the size XS length line for the bottom marking of my triangle. (I also measured roughly to be sure the triangle would fall somewhere behind my knee or on my calf.) This is all personal preference so you get to choose where it goes.
Draw the triangle (or any shape) on the "back" pattern piece. I put the top of the triangle at the point that I measured for the back of my knee. The bottom of the triangle is at the XS capri line. You will also need to add a 1/2in seam allowance to the top and bottom of the triangle. (You can see that I made a separate pattern piece for the triangle. That is where I added the seam allowance to the top and bottom of the triangle.)

Place the pattern piece on the fabric, be sure to cut 2 pieces RST. I folded up the triangle that I just drew and cut the "back" leggings with a slant at the bottom that will be the top of the triangle. Cut out the triangle piece in a contrast fabric, with the seam allowance added. You will also need to cut the bottom part of the leggings, from the bottom of the triangle to the hem.

You should have 2 "front" pieces, 2 "back" pieces with a slant (1/2" seam allowance added), 2 triangles with 1/2" seam allowance, "back" bottom piece and waistband.

Here is the triangle with the seam allowance added and the pant pieces.

Be sure the triangles are facing the right direction and attach them to the pants "back" at the slant, RST.

Iron. You can also topstitch at this point.

Now attach the two bottom pieces at the bottom of the triangle. Below you see 2 "back" pieces with the triangle attached.

Attach the back piece to the front piece at the side seams. From this point forward, you can follow the pattern directions. (Your leggings should look just like the pattern piece except it now has a triangle contrast.)

And, ta-dah! Contrast leggings.


Let me know if you have any questions!
Did you know there are other legging modifications that you can check out? Click here to see how to make two toned leggings. You can also find a tutorial for making the leggings with a mega ruffle here. And finally, find out how to add a simple ruffle here.
XOXO,
Kara




 Posts
Posts


