
Endless Dress Sew Along Day
Are you ready? Let's do this!
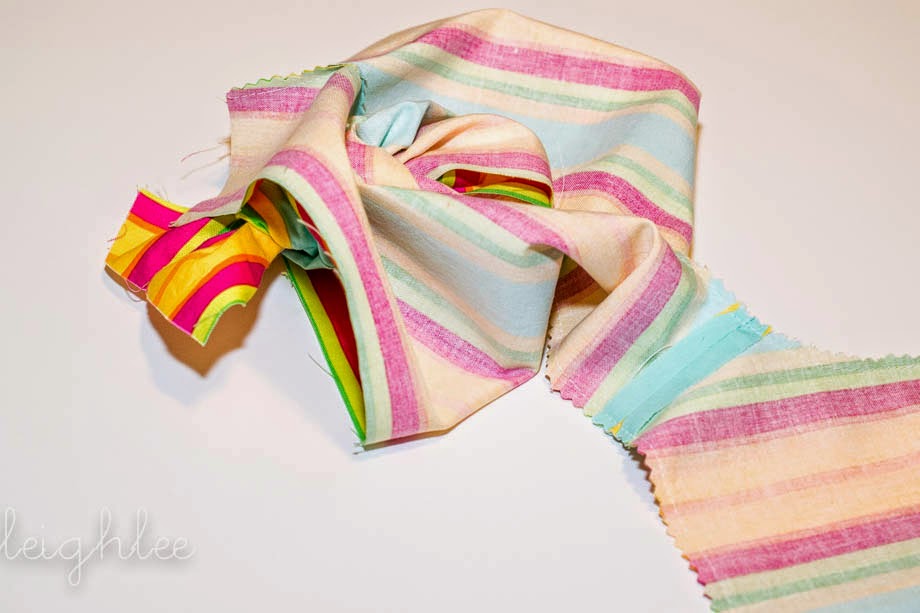
I'm starting the sew along with my mashup of the Endless and the Circle Flounce. If you are doing the standard Endless Dress, skip down to the pictures with the yellow striped fabric.
Bodice with Straps
Starting with the shoulder strap pattern piece, fold in half right sides together (RST). Stitch the long seam together leaving both ends open.

Turn both straps right side out. I used a Bodkin to turn the straps, just to make it a little easier.

Iron the straps. I put the seam on the back center of the straps so that my pattern would line up nicely. You can also line up the seam on the side of the straps (I just like mine hidden).

Topstitch the straps. I attached my flutters at the outside edge of both straps with a topstitch.

Bodice
If you are adding the sash, be sure to add it here. I forgot and had to go back and rip out my seams! To add the sash, fold the sash in half lengthwise so that there is a piece long enough to go across the front bodice. Baste the sash at the sides of the front bodice. Now is a good time to add topstitching to the top finished edge of the sash. Go ahead and attach the ties as well. (There are pictures of attaching the sash in the photos of the yellow top.)
Sew the bodice front and back pieces RST at one side seam. Repeat for the bodice lining. Iron side seams open.

Position the straps as indicated in the pattern. Tip: I should have moved both straps in just a tad(like a 1/4in further to the center) because my "little" has a narrow chest and shoulders. If you don't trust yourself not to sew over the pins, baste the straps in place.

Place the bodice lining RST on top of the bodice front. The straps are in the middle of the bodice front and the bodice lining. Sew both bodice pieces together, reinforcing the strap seam by reversing over that area.

Line up both arm holes and stitch together.

I'm not sure if you know this but it is necessary to clip curves so they will lay nicely. I always use my pinking shears for curves because I don't like to risk clipping the thread. The pinking shears help the curves iron out perfectly.
At this point you have the bodice front pieces and the arm holes stitched together. The bodice back pieces are still open because we need to attach the other end of the straps.

We're about to get real here people! Stick with me because this is where things get confusing!
Pull out one strap raw edge from the middle of the bodice front pieces.

Without twisting the strap, find the bodice back and line the strap up on the bodice back piece. Be sure the straps get attached at the armholes. In the picture below, the raw edge of the strap is at the top of the bodice back, just next to the armhole.

With the strap in place, fold the lining piece over the bodice back. In the picture below, the armhole curve is on the left and the bodice back is open on the right. Stitch together the top of the bodice back pieces being sure to reinforce the strap area.

Your bodice should look similar to the picture below.

Repeat the whole process for the other side of the bodice back.
Here is another view of the armhole and strap.

Once you have both straps sewn into place, turn the bodice front and back pieces right side out and be sure everything looks right. So, at this point you have both straps attached to the front and back at the armholes. Iron the bodice pieces so that everything lays nice a flat.

Here is where I realized I should have attached my sash a looooong time ago. I had to rip out my side seams to attach the sash. Don't make that mistake!!!! So your bodice is almost complete! We will work on the buttons, button holes and skirt tomorrow! Yay!
If you made the strap bodice, you are finished for today.

Traditional Endless Dress Bodice
If you are making the Endless Dress bodice, you are in the right spot! You should have a pile similar to this. A bodice front and back and a lining front and back. The front is cut on the fold and the back is in two pieces.

Start by attaching the bodice front and back pieces at the shoulder seams.

Iron the seams open.

Line up the bodice front and lining pieces exactly.

Starting at the bottom of the bodice back outside piece; sew up the side, around the neckline and back down the back outside. Also sew the armhole curves. Use pinking shears to clip the neck and armhole curves. Right now the only open edges are the side seams.

Take the corner of the back piece into the center of the bodice and push it through the shoulder seams, out to the opposite edge. Repeat on the other side.
Iron the bodice, being sure to press right at the seam.

Sash
Fold the sash in half lengthwise WST and iron flat.

With the bodice laying flat, pull the lining up toward the neckline.

Pin the sash onto the bodice front, lining up the sides and bottom of the sash with the bodice.

Topstitch the top of the sash.

Stick with me, this part can be confusing (ok, maybe it's not confusing to you but I was a little confused the first time I did this!).
With the lining still up toward the neckline, fold the bodice back piece on top of the bodice front.

Open the bottom edge of the back piece to match the front. Pin in place. Both arm curves are together and the side seams are lined up also. This will create a hidden seam so the lining looks nice a professional.

Repeat on the other side and pin.

Stitch the seams together. Your bodice should look like this. Press the seam open.

Carefully iron the side seams being sure everything is flat and straight.

Shew! You made it! Let me know if you have any questions, this can be tricky. Come back tomorrow for the buttons, button holes and skirt. We are moving right along!!!!


No comments:
Post a Comment