Showing posts with label embellishment tutorial. Show all posts

Monday, March 17, 2014

Cuff Tutorial

Adding a Cuff to The Quick Dress

A Tutorial


Take two measurements:  
1.  Measure the length of the sleeve 2 inches shorter than the pattern calls.  
2.  Measure the bottom edge of the sleeve.

Cut two strips that are 5" tall by width of sleeve.  So you will have two strips that are 5inches tall and as wide as the bottom edge of the sleeve.


Fold cuff in half lengthwise with right sides together.


Stitch short sides together with a 3/8" seam allowance.  You now have one open edge, one folded edge and two short sides sewn together.
Turn right sides out and be sure to push out edges.  Press well, setting seams exactly on the edges.


Attach sleeve to the Quick Dress and sew underarm/side seams together.  The bottom edge of the sleeve is still raw.


Attach cuff to the edge of the sleeve, right sides together, using a 3/8" seam allowance.   The opening of the cuff should be at the outside of the sleeve.


Finish the raw edge of the cuff and sleeve.
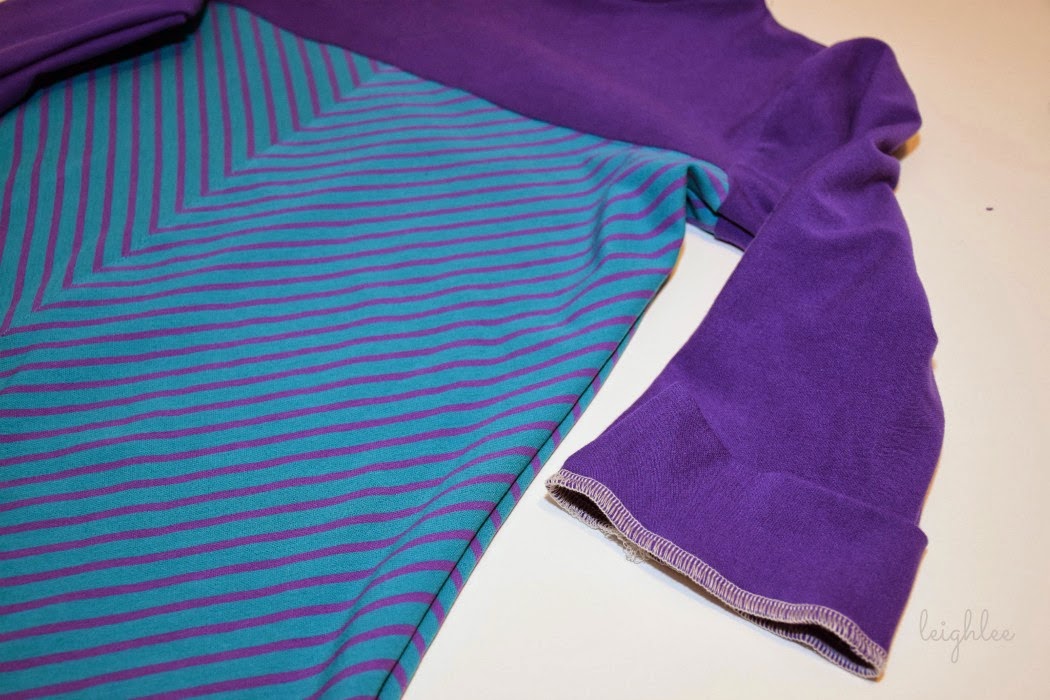


Turn right side out and topstitch.

Happy sewing!


Thursday, March 13, 2014

Sash Tutorial

Sash Tutorial

Belt Sash


Make a sash to fit the Essential Pants from Jocole.


Choose the appropriate size sash.  Cut fabric to required measurements.  To make a bow sash, cut 2 fabric pieces or double the length.

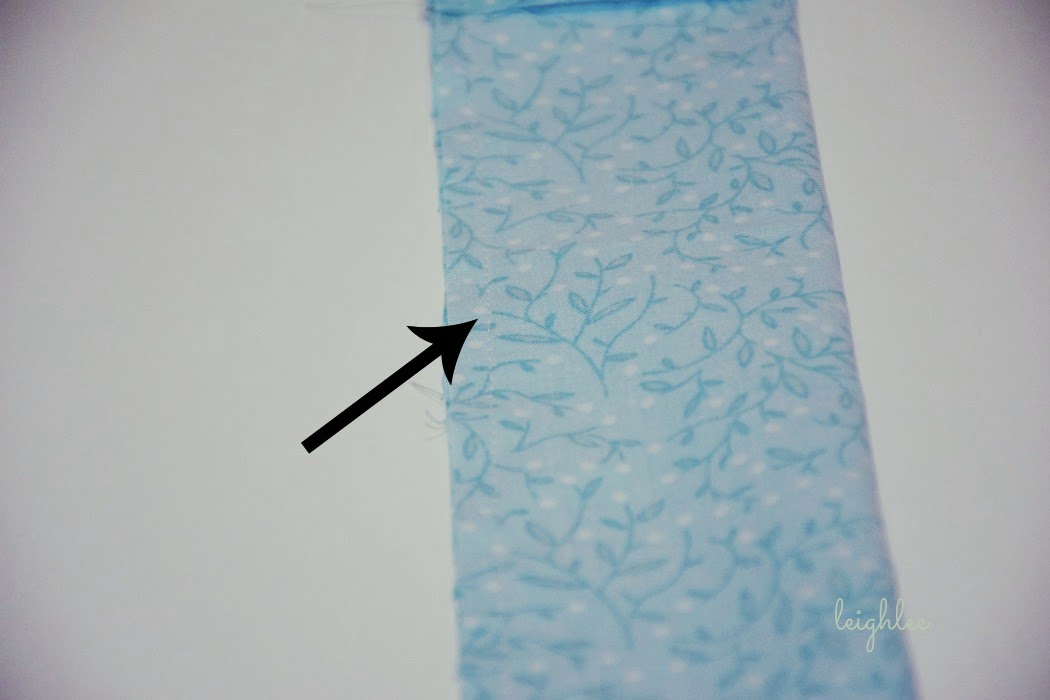
Fold sash in half.


Stitch together one short side and length of the sash.


Using a dowel, push fabric through to turn.


Iron sash.  Turn short end in to create a finished edge.


Topstitch to close opening and finish.


Add the sash to your project!


Monday, March 10, 2014

Inset Pocket How To

Inset Pocket Tutorial

This tutorial for Inset Pockets can be used on the:
Print out the pocket pattern and cut the desired size.  
You can download the printable pattern pieces HERE
Includes sizes newborn through 14, doll, and ladies
 Cut 2 from fabric.


I like to leave the curve attached to the pattern just folded back out of the way.


Cut out the curve on 2 facing pieces. 


Use the small curved cut out to make a template on the Essential Pants front.


Cut away curve template.


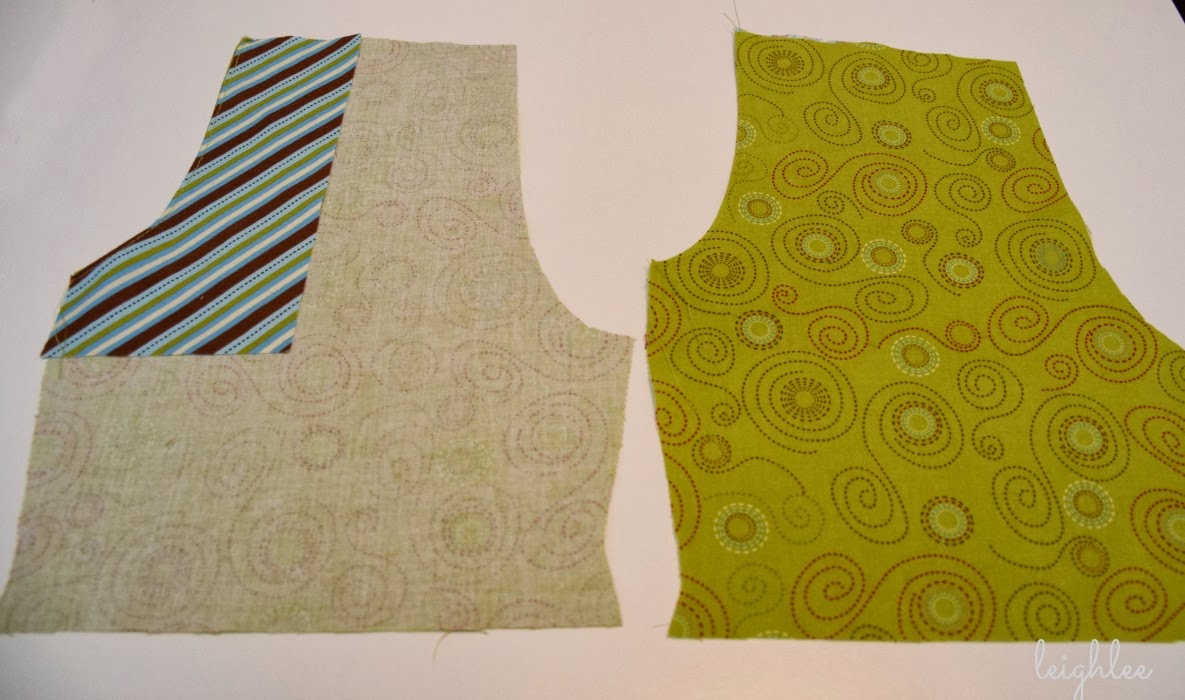
At this point we have 2 squares and 2 facing pieces with a curve cutout.  Be sure the curves are facing opposite directions.


Lay facing on top of pants front, matching the curves.  Stitch at 3/8in.


Clip curves.  I use pinking shears to clip curves, but you may also make small cuts all the way to the stitching line (but don't cut the stitching).


Turn the pocket facing to the underside of the pants front, iron.  You will have a seam at the curve and the facing will be under the pants front.  Topstitch at 1/4in.


Place square pocket piece over the curve with the right side facing pants front (or right side of pocket to right side of facing).  Stitch inside of pocket pieces together and finish (the two inside edges).


Baste along top and outside edges to keep the pocket in place.  You have completed Inset Pockets!