Showing posts with label embellishment. Show all posts

Monday, March 17, 2014

Cuff Tutorial

Adding a Cuff to The Quick Dress

A Tutorial


Take two measurements:  
1.  Measure the length of the sleeve 2 inches shorter than the pattern calls.  
2.  Measure the bottom edge of the sleeve.

Cut two strips that are 5" tall by width of sleeve.  So you will have two strips that are 5inches tall and as wide as the bottom edge of the sleeve.


Fold cuff in half lengthwise with right sides together.


Stitch short sides together with a 3/8" seam allowance.  You now have one open edge, one folded edge and two short sides sewn together.
Turn right sides out and be sure to push out edges.  Press well, setting seams exactly on the edges.


Attach sleeve to the Quick Dress and sew underarm/side seams together.  The bottom edge of the sleeve is still raw.


Attach cuff to the edge of the sleeve, right sides together, using a 3/8" seam allowance.   The opening of the cuff should be at the outside of the sleeve.


Finish the raw edge of the cuff and sleeve.
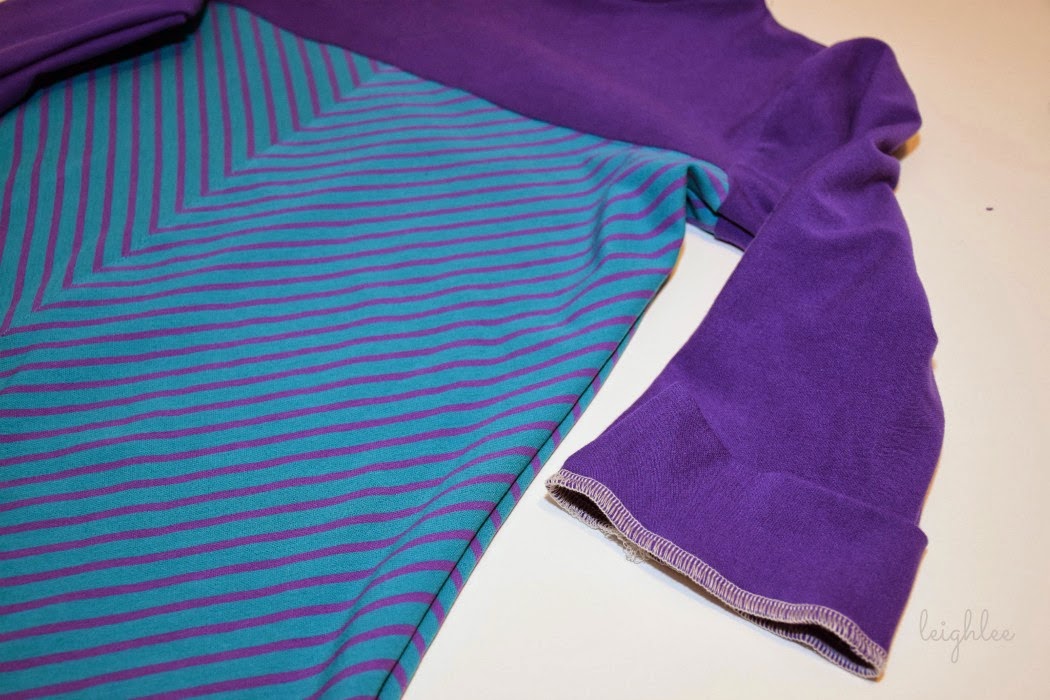


Turn right side out and topstitch.

Happy sewing!


Thursday, March 13, 2014

Sash Tutorial

Sash Tutorial

Belt Sash


Make a sash to fit the Essential Pants from Jocole.


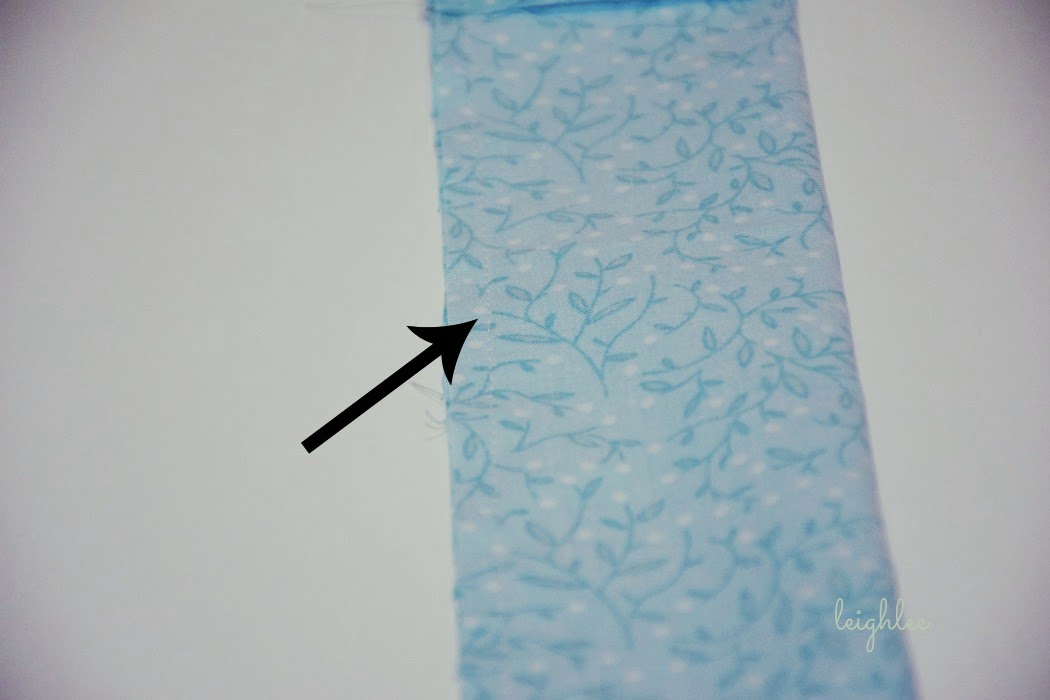
Choose the appropriate size sash.  Cut fabric to required measurements.  To make a bow sash, cut 2 fabric pieces or double the length.

Fold sash in half.


Stitch together one short side and length of the sash.


Using a dowel, push fabric through to turn.


Iron sash.  Turn short end in to create a finished edge.


Topstitch to close opening and finish.


Add the sash to your project!


Monday, March 10, 2014

Inset Pocket How To

Inset Pocket Tutorial

This tutorial for Inset Pockets can be used on the:
Print out the pocket pattern and cut the desired size.  
You can download the printable pattern pieces HERE
Includes sizes newborn through 14, doll, and ladies
 Cut 2 from fabric.


I like to leave the curve attached to the pattern just folded back out of the way.


Cut out the curve on 2 facing pieces. 


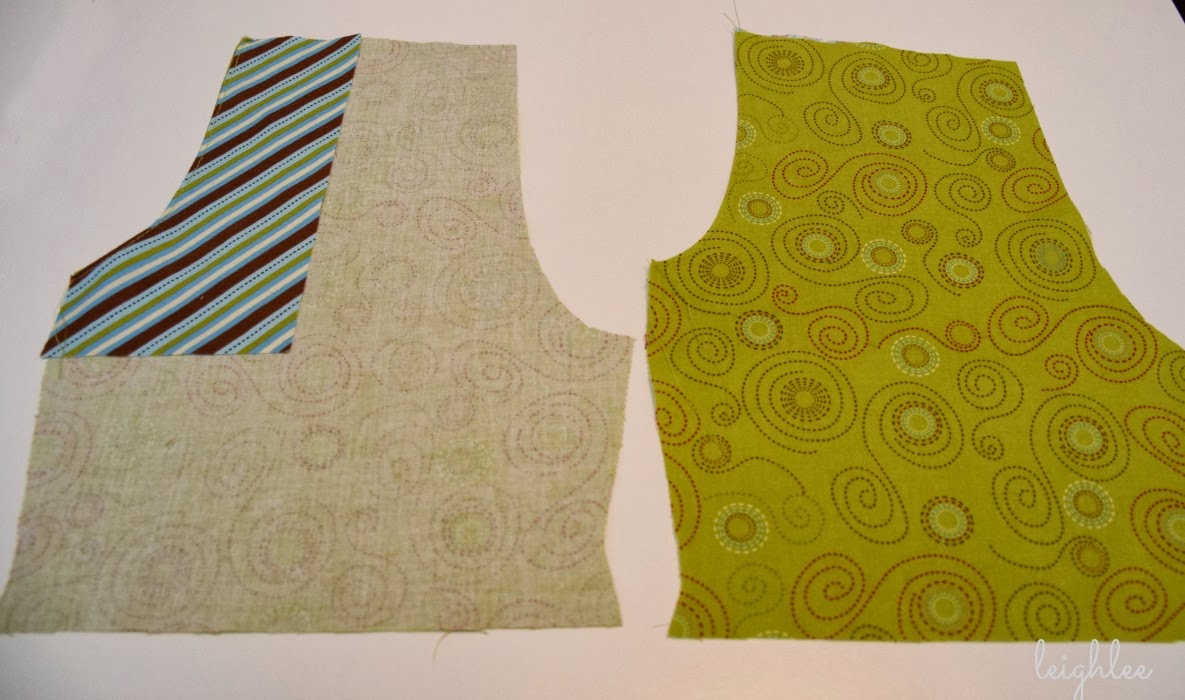
Use the small curved cut out to make a template on the Essential Pants front.


Cut away curve template.


At this point we have 2 squares and 2 facing pieces with a curve cutout.  Be sure the curves are facing opposite directions.


Lay facing on top of pants front, matching the curves.  Stitch at 3/8in.


Clip curves.  I use pinking shears to clip curves, but you may also make small cuts all the way to the stitching line (but don't cut the stitching).


Turn the pocket facing to the underside of the pants front, iron.  You will have a seam at the curve and the facing will be under the pants front.  Topstitch at 1/4in.


Place square pocket piece over the curve with the right side facing pants front (or right side of pocket to right side of facing).  Stitch inside of pocket pieces together and finish (the two inside edges).


Baste along top and outside edges to keep the pocket in place.  You have completed Inset Pockets!  


Monday, September 12, 2011

Stretchy Ruffle Instructions

Quick and easy instructions for creating S-T-R-E-T-C-H-Y ruffles. TWO easy, fool-proof methods for sewing ruffles: using clear elastic or single baste ruffles.

This is how I add stretchy ruffles to tight fitted knit garments ... like the legs on leggings, arms on t-shirts or the tops of socks. You can use ribbon, knit or woven fabric strips or even lace. Add some buttons or bows and you can make them even more awesome.

Check out the complete step-by-step instructions with full color pictures by clicking the above picture, or HERE.

Check out my other tutorial on making little girl knee high socks HERE.

Bow Templates

I've created a download full of templates for making bows in TWELVE different sizes and 3 different types of bows. Check out the complete templates HERE.

BOW INSTRUCTIONS

Bow - Single Loop with Tails Down

This is by far my favorite, and easiest way, to add some interest to clothing that I make for my daughters. I add them to necklines, sleeves, the sides of pants, skirts, belts, socks (shown above) ... you name it. Cute and Easy ... what could be better?

1. First decide what size bow you would like (this is the final width of the bow) and cut the length of ribbon. My template guides can be found HERE. (The bow in the following instructions is made with 5/8" ribbon and using the 3" wide template).

2. Second FOLD the ribbon in half and press the fold to create a crease -- this is the center.

3. Align the center crease in the middle of the template guide.

4. Fold one tail of the ribbon over the template, aligning the top of the tail with the bottom edge of the opposite tail.

5. Fold the opposite tail ribbon over the template, aligning the top of the tail with the bottom edge of the opposite tail.

6. Using a needle and thread STITCH a running stitch through the center, making sure to go through ALL layers of the ribbon.

7. Slide ribbon off the template and pull on the the thread to gather the stitches.

8. Pull on the thread and wrap around the center of the ribbons tightly, and tie with a knot to secure.

9. Trim ribbon tails (if desired) and heat seal with a lighter so the ribbon won't fray.

10. Finished bow ... isn't it pretty? Now it's ready to glue to a hair clip, or add it to clothing.

11. My preferred method to add bows to clothing is to stitch them directly to the garment using a zigzag stitch [my settings: width: 3-4, length:1.5-2] and to go forward and then backward to secure it. (Shown below added to the neckline on the Shoreline Knit Tank)

Bow - Double Loop with Tails Out

This is by far my favorite, and easiest way, to add some interest to clothing that I make for my daughters. I add them to necklines, sleeves, the sides of pants, skirts, belts, socks ... you name it. Cute and Easy ... what could be better?

1. First decide what size bow you would like (this is the final width of the bow) and cut the length of ribbon. My template guides can be found HERE. (The bow in the following instructions is made with 7/8" ribbon and using the 3" wide template).

2. Second FOLD the ribbon in half and press the fold to create a crease -- this is the center.

3. Align the center crease in the middle of the template guide.

4. Fold one tail of the ribbon over the template, aligning the bottom of the tail with the top edge of the opposite tail.

5. Fold the opposite tail ribbon over the template, aligning the top of the tail with the bottom edge of the opposite tail.

6. Flip template over. Fold one tail of the ribbon over the template, aligning the bottom of the tail with the top edge of the center ribbon.

7. Fold the remaining tail of the ribbon over the template, aligning the top of the tail with the bottom edge of the center ribbon.

8. Using a needle and thread STITCH a running stitch through the center, making sure to go through ALL layers of the ribbon.

9. Slide ribbon off the template and pull on the the thread to gather the stitches.

10. Pull on the thread and wrap around the center of the ribbons tightly, and tie with a knot to secure.

11. Trim ribbon tails (if desired) and heat seal with a lighter so the ribbon won't fray.

12. Finished bow ... isn't it pretty? Now it's ready to glue to a hair clip, or add it to clothing.

13. My preferred method to add bows to clothing is to stitch them directly to the garment using a zigzag stitch [my settings: width: 3-4, length:1.5-2] and to go forward and then backward to secure it. (Shown below added to the neckline on the Shoreline Knit Tank)